Visma Lön
Introduction
You set up the integration in the System administration -> Integrations & API -> Integrations.
Description
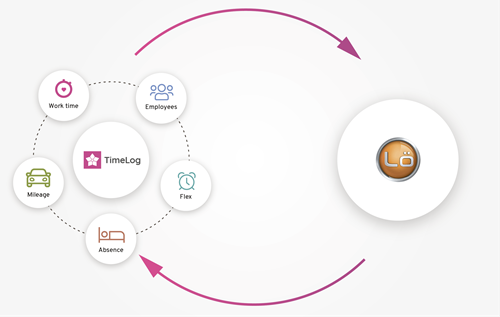
The integration creates a salary file, which you can export from TimeLog and import into to Visma Lön.

We recommend you to activate Employee ID in TimeLog to ensure correct file creation.
- Go to the System administration ->Employees -> Employee module settings
- Check Show employee ID
- Enter an ID on each employee
We recommend you use the same ID as in Visma Lön.
Connection setup
- Click Add Visma Lön
- If you use TimeLog MLE, select legal entity and click Activate
Main setup of file export
- Enter File prefix: Adds the specified text as the first part of the file name when you export data
- Enter the Company name you use in [integration name]
- Enter Organisation number
- Enter VAT no.
Optional setup
- Transfer only approved time registrations and expenses: Limits the integration to only select the registrations and expenses approved by a manager within the selected period
Select salary data for transfer
- Normal working time: Adds the normal working time added to each employee on the employee card
- Salary specification: Adds the time tracked on salary codes, e.g. paid overtime
- Absence: Adds the time tracked in absence codes, e.g. vacation
- Expenses: Adds the amounts from the expenses either as a total or as one post per item
- Mileage, km: Adds the number of kilometers driven either as a total or as one post per item
- Project time: Adds the time tracked on projects
Confirm integration setup
The system automatically detects, if you’ve completed all the steps. Click Activate and you’ve set up the integration.
Now you’re ready to create the salary file via the Transfer salary data page.
Last updated
21 Jun 2023
Please give it a thumbs up or down.
Please write a comment.