Outlook integration installation and user guide
This guide will show you how to use the TimeLog for Outlook integration in your daily life.
It’s part of a three-stage guide designed to help you get fully set up and ready to use the Outlook add-in.
Before you begin: This guide requires that your IT department has completed the technical setup. You can find the guides for that here:
- Technical installation for advanced users and IT admins
- Outlook add-in installation for end users
- Outlook add-in daily use for end users (You´re here)
Description
Turning Your Calendar into Time or Absence Registrations
Once Outlook and TimeLog are connected, you can begin linking your calendar meetings to tasks for time registration—or to absence codes to plan time off—directly from Outlook.
Connecting a Meeting to a Task
- Open a meeting in your Outlook calendar.
-
You will find the TimeLog for Outlook under this icon in the menu:
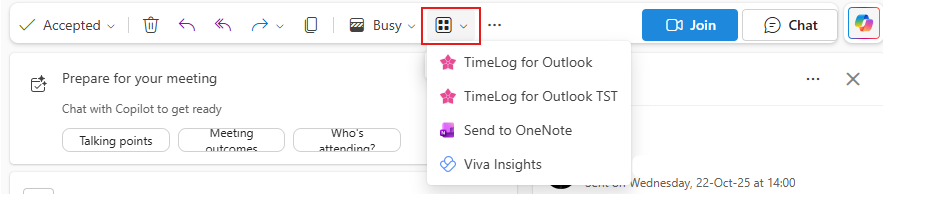
- Click "Add time registration". Depending on your ribbon setup, this action might be hidden under the "…" menu. Switching from the Simplified ribbon to the Classic ribbon will make the action visible directly in the toolbar.
- A search panel will appear, allowing you to find the correct task to connect the meeting to. You can search by customer, project, or directly by task.
- Selecting a customer will bring you to a search in the list of projects under the selected customer.
- Selecting a project will bring you to a search in the list of tasks under the selected project.


- Once you’ve located the right task, click the plus icon (+) on the task card. This opens the time registration panel.
- All fields will be pre-filled based on the meeting details. You can adjust the information if needed (e.g., if the meeting was shorter/longer than planned or if you want to change the comment).
- Adjust any information that is not correct and click Save to add the time registration.
Planning Vacation or Other Absence from Outlook
Adding your vacation or other absence such as attending courses or conferences to your calendar is a good idea, ensuring that you don’t appear available for meetings during the period you are away.
- Create a calendar meeting that spans: The full working day for full-day absence, or the specific time span for partial absence.
- Open the TimeLog time registration panel.
- Click the "Absence" search category.
- Your available absence codes will appear in the search results.
- Click the plus icon (+) on the correct absence card. This opens the absence registration panel.
- Adjust any incorrect information.
- Click Save to register the absence.
Important
- Time registrations for future meetings will not appear in your timesheet immediately. They are treated as planned work and will be created automatically at midnight on the day of the meeting.
- Absence registrations, however, are created immediately, regardless of the meeting date.
- Absence entries may require approval and are part of the resource planner.
How Changes to Meetings Affect Time Registrations (and vice versa)
Once a time registration is connected to a meeting, certain changes will sync automatically:
- Changing the date, start time, or end time of the meeting will also update the connected time registration.
- This applies whether you make the change or someone else (e.g., the meeting organizer).
- Deleting a meeting will also delete the connected time registration.
- Updating a time registration in any other TimeLog app will not change the meeting in Outlook.
However, the calendar view will reflect the updated registration details.
Psst...
It is possible to move TimeLog into the menu bar through the Settings => Calendar => Customize actions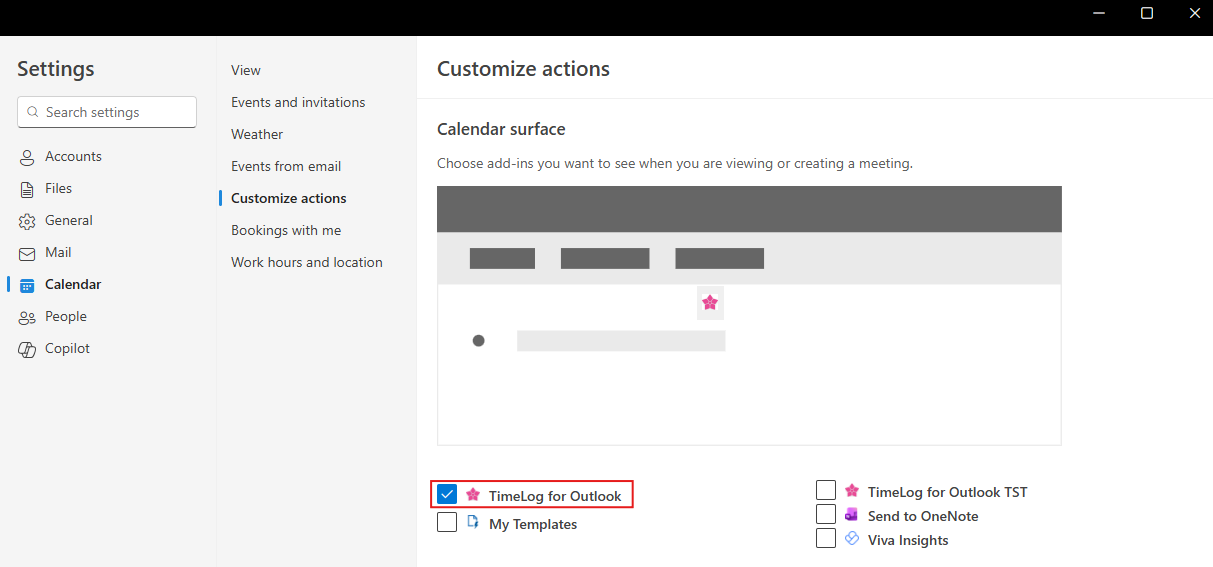
And bring the TimeLog add-in to the menu bar (when the screen is wide enough)
